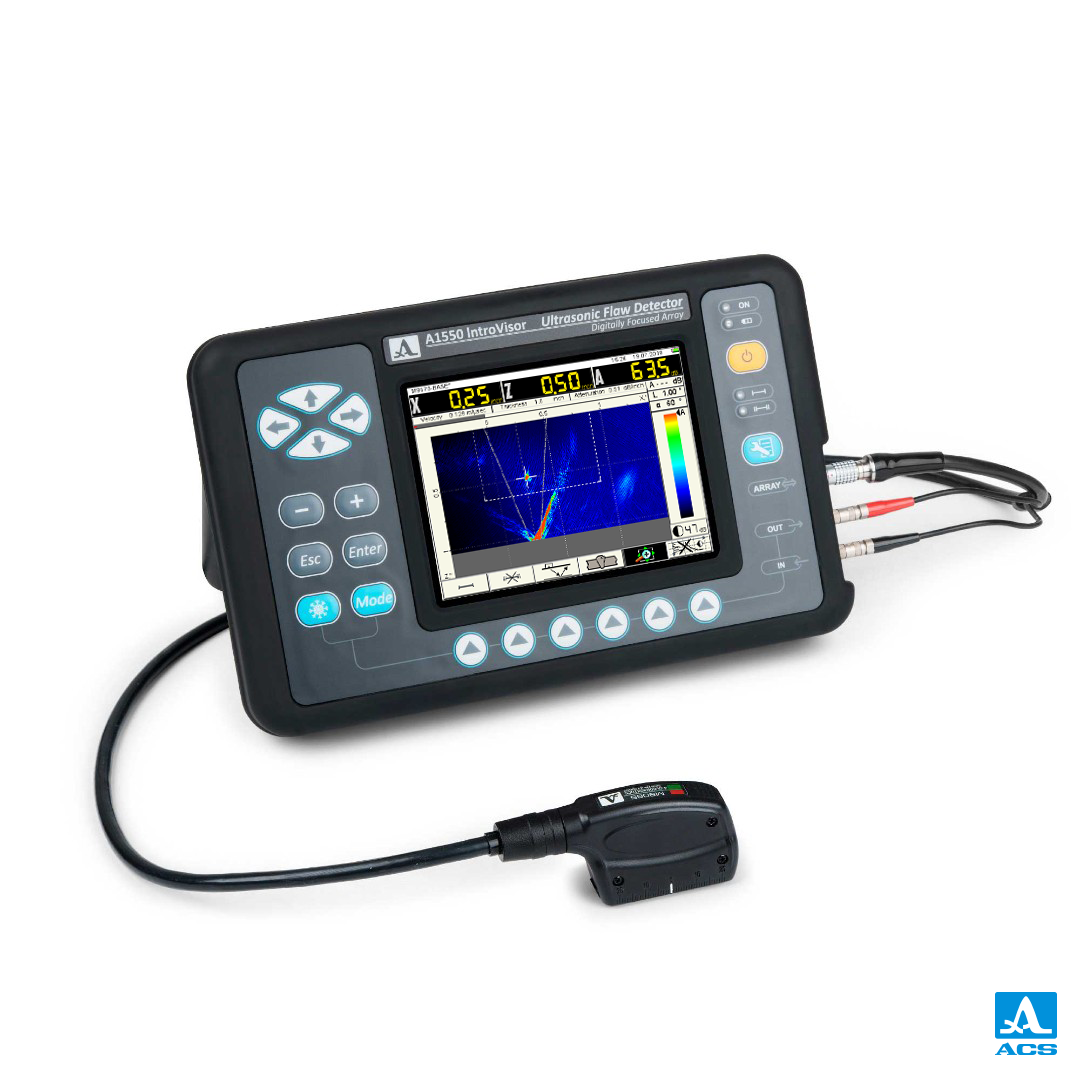
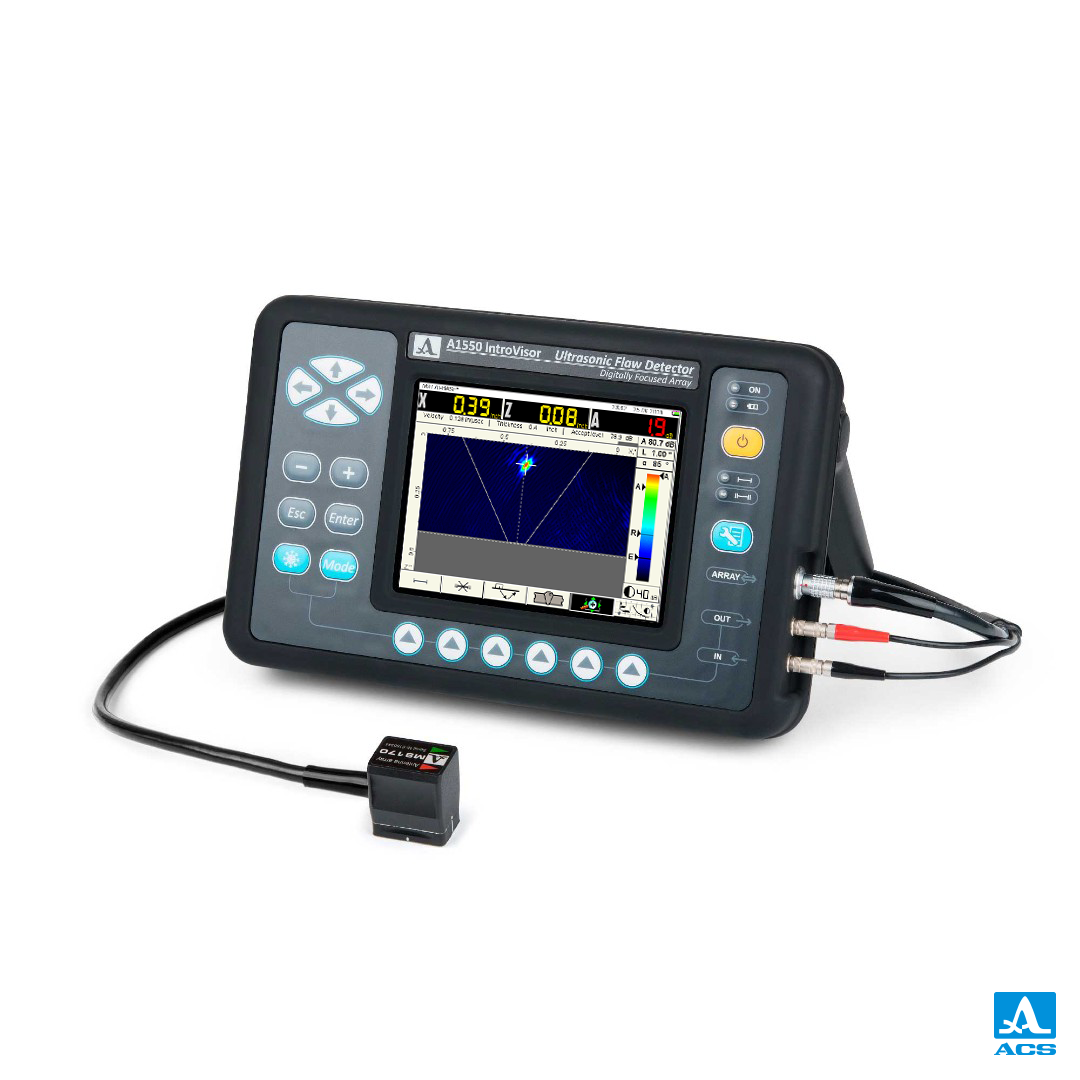
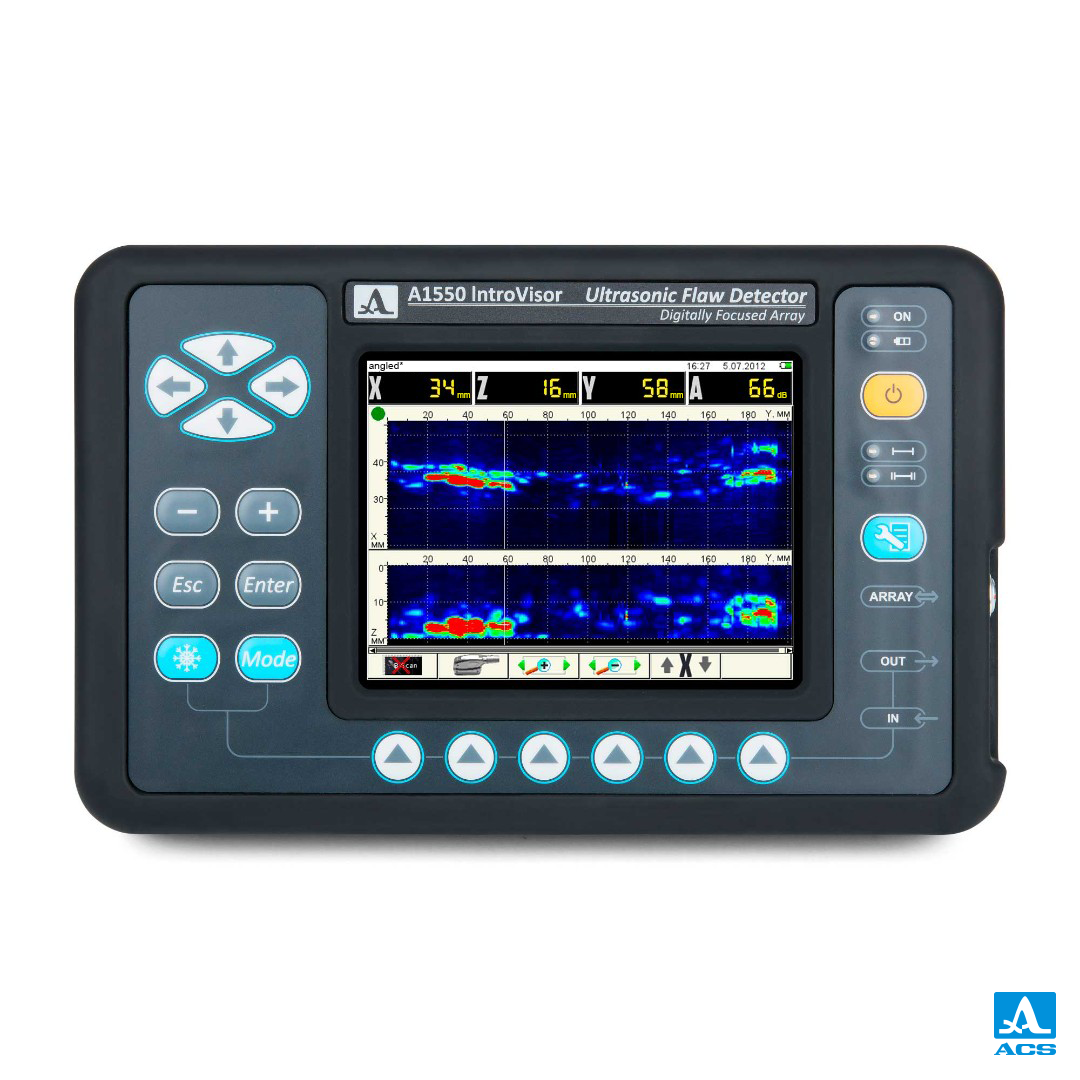
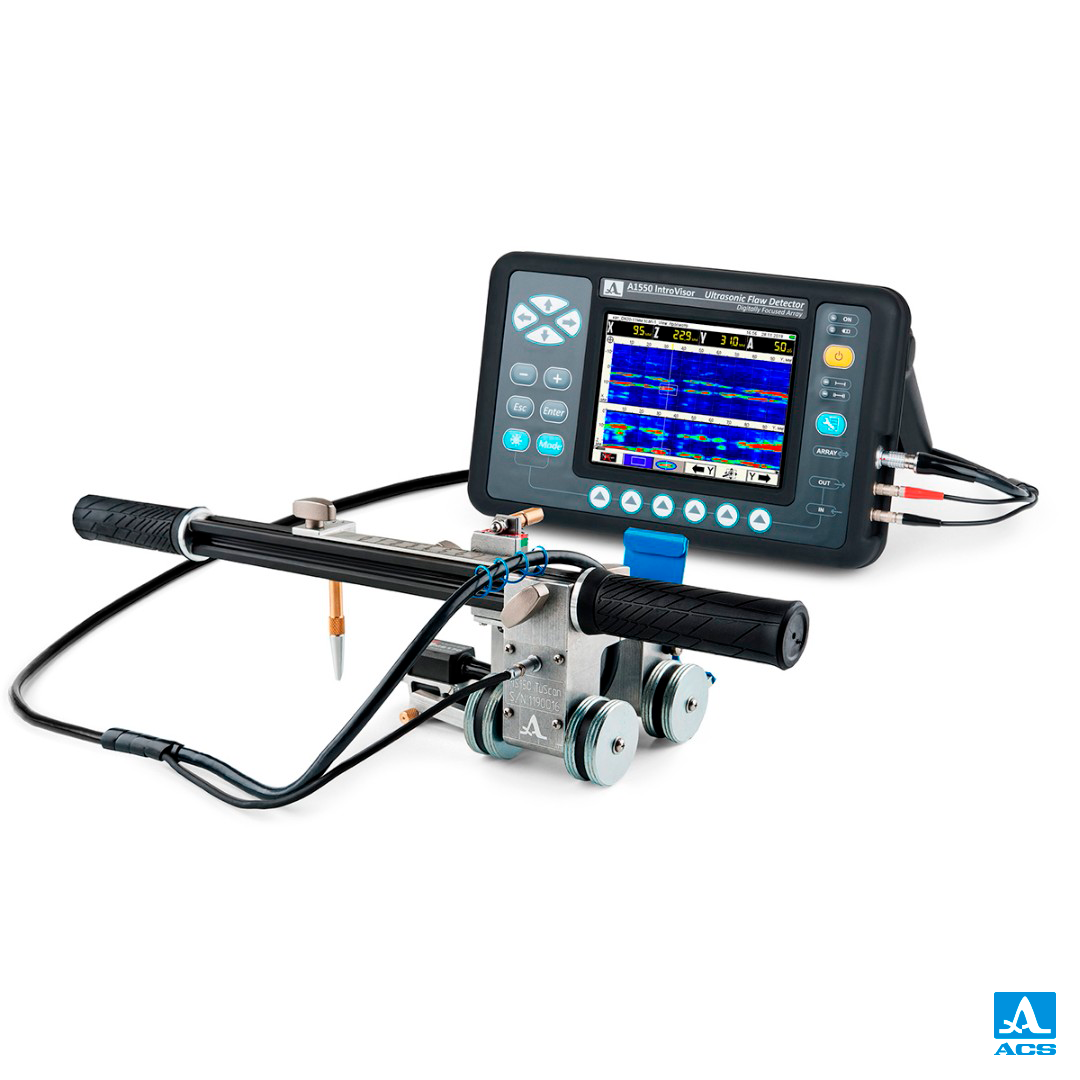
The universal portable ultrasonic flaw detector-tomograph with TFM technology visualize the internal structure of the object as real-time section imaging (B-Scan) making the results interpretation much easier than with a traditional flaw detector.
The tomograph uses various types of phased array transducers comparable by size with traditional transducers. Thanks to our special image reconstruction algorithm the PA transducer substitutes a whole kit of standard transducers traditionally used for testing.
A1550 IntroVisor operates basing on the principle of TFM virtual focusing to every point of the visualized section, providing high efficiency and best results for spatial resolution and sensitivity.
The ?1550 IntroVisor tomograph is designed to meet the challenge of quick and efficient flaw detection at metal, plastic and composite objects with detailed documenting of the results.
Special software for 3D reconstruction of the welding joints
Weld joints inspection.
Locating corrosion, cracks, internal stratifications and other flaws.
locating and sizing up flaws (discontinuities and inhomogeneities) in metal and plastic objects.
Thickness measurement.
Real-time imaging of the object internal structure.
Option to use various types of ultrasonic waves:
-shear waves to inspect welds overlapping angular range used by standard methods of ultrasonic testing;
-longitudinal waves to inspect base metal.
Enhanced resolution and sensitivity. Possibility to measure discontinuity flaw size.High testing efficiency.
Can operate as a tomograph (B-Scan) and as a traditional flaw detector (A-Scan).
Weld joints scanning mode (C-Scan) with saving results to memory.
Reflecting images of vertically oriented flaws.
| Phased Array data processing technique |
Total Focusing Method |
| Number of array elements / channels |
16 |
| Operation frequencies |
1,0; 1,8; 2,5; 4,0; 5,0; 7,5; 10 MHz |
| Dynamic range |
100 dB |
| Display resolution / type |
640 x 480 / TFT |
| Operation time with battery, not less than |
8 h |
| Dimensions of the electronic unit |
260 x 166 x 80 mm |
| Weight of the electronic unit |
1.8 kg |
| Operation temperature |
-10 to +55 ºC |
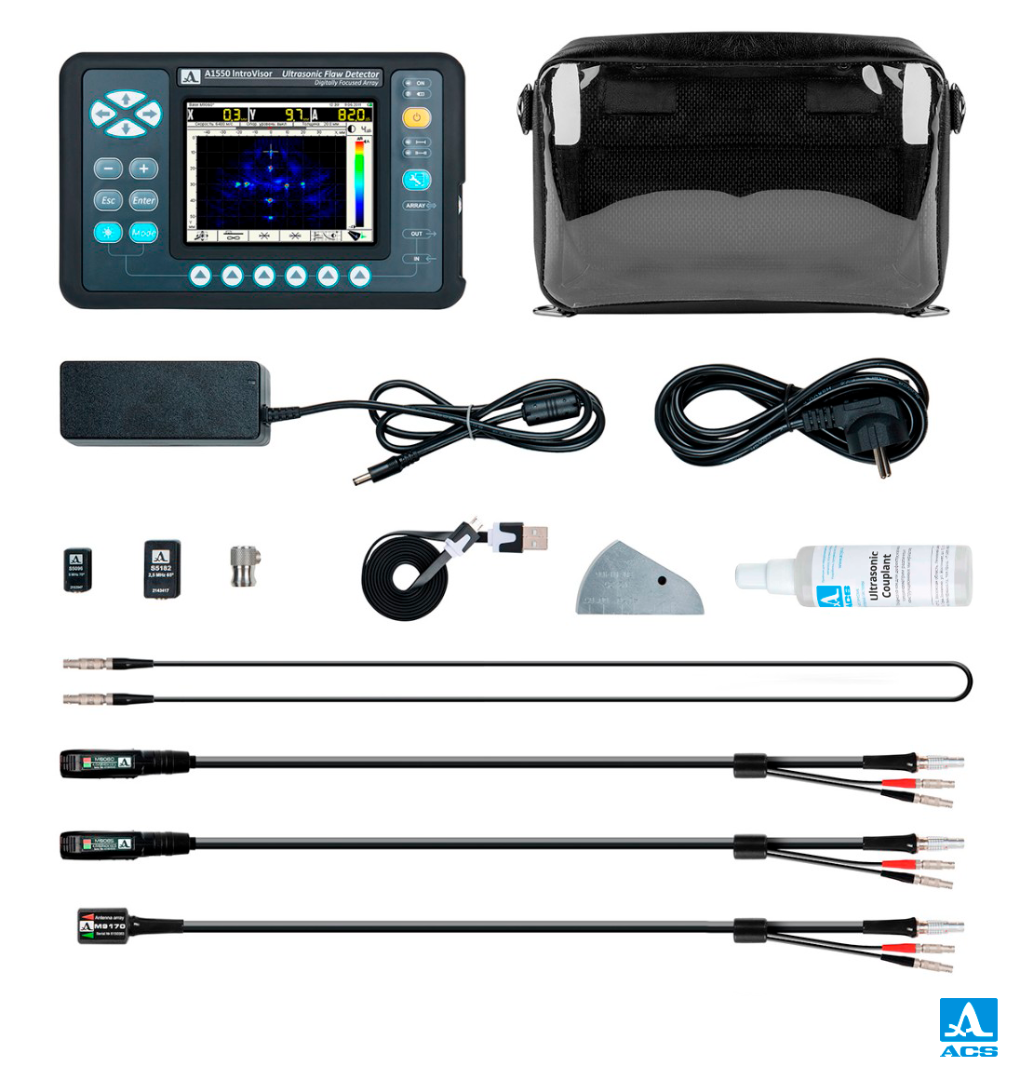
• ?1550 IntroVisor – TFM ultrasonic flaw detector – tomograph
• Phased Array transducer M9065 (4 MHz shear wave, pitch 2.5 mm)
• Phased Array transducer ?9060 (4 MHz longitudinal wave, pitch 2.5 mm)
• Phased Array transducer M9170 (4 MHz shear wave, pitch 1.6 mm)
• Single crystal transducer S3568 (2.5 MHz, normal beam, crystal diameter 10 mm)
• Single crystal transducer S5182 (2.5 MHz, angle beam 45 degree, crystal diameter 12 mm)
• Single crystal transducer S5096 (5 MHz, angle beam 45 degree, crystal diameter 6 mm)
• LEMO 00 – LEMO 00 single cable 1,2 m
• USB A – Mini B cable
• Power adaptor with cable
• Calibration block V2/25
• Ultrasonic Couplant, bottle 4 oz.
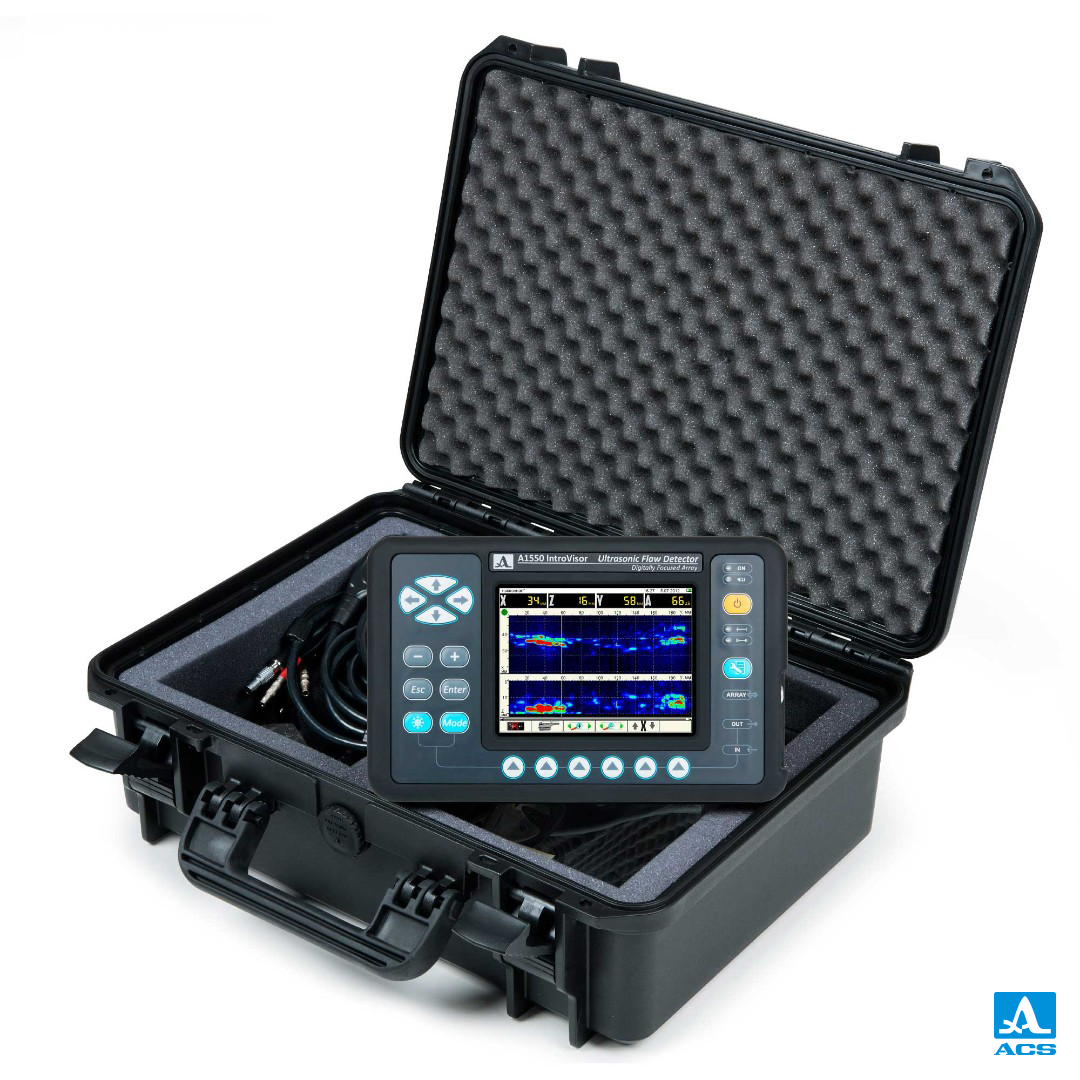
• Soft cover
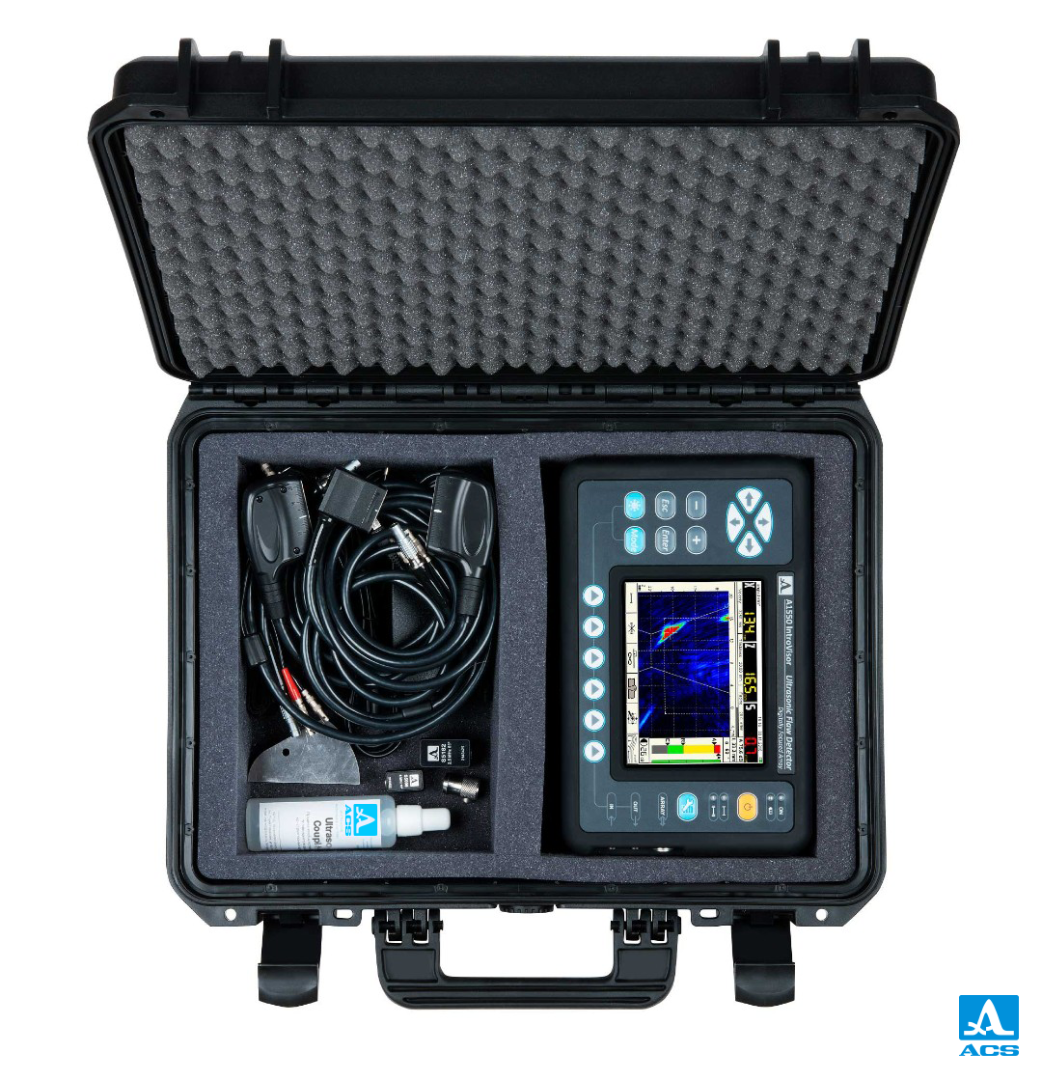
• Hard case


