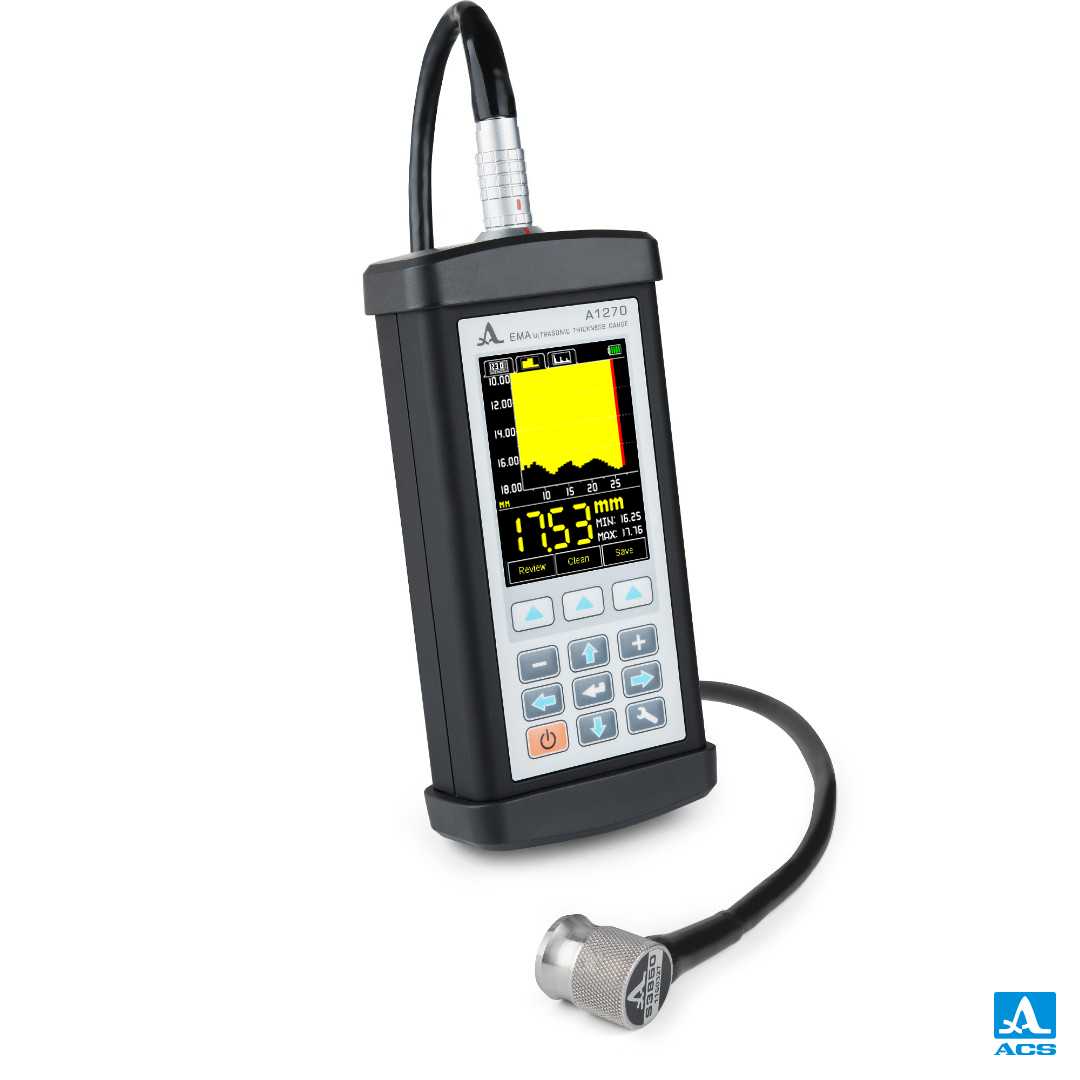
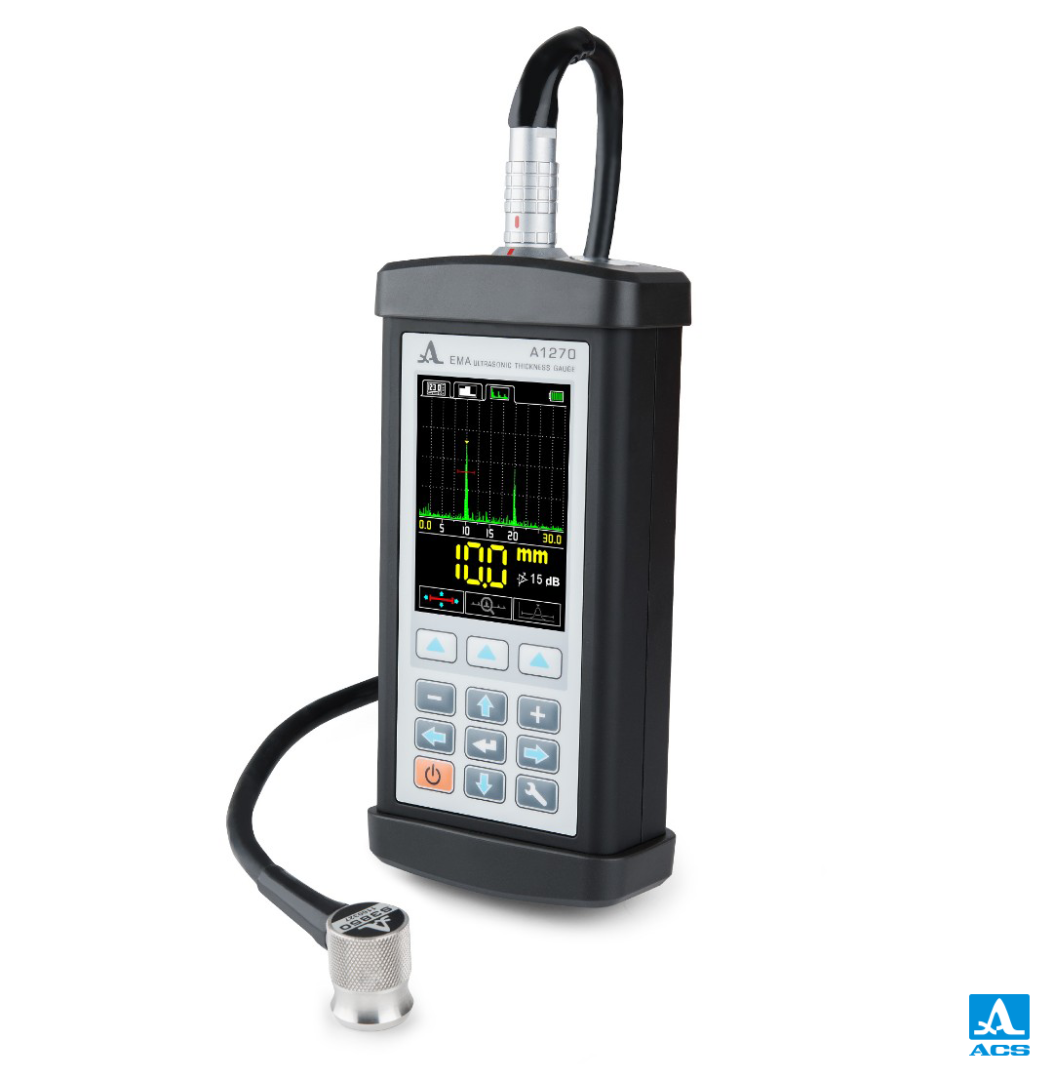
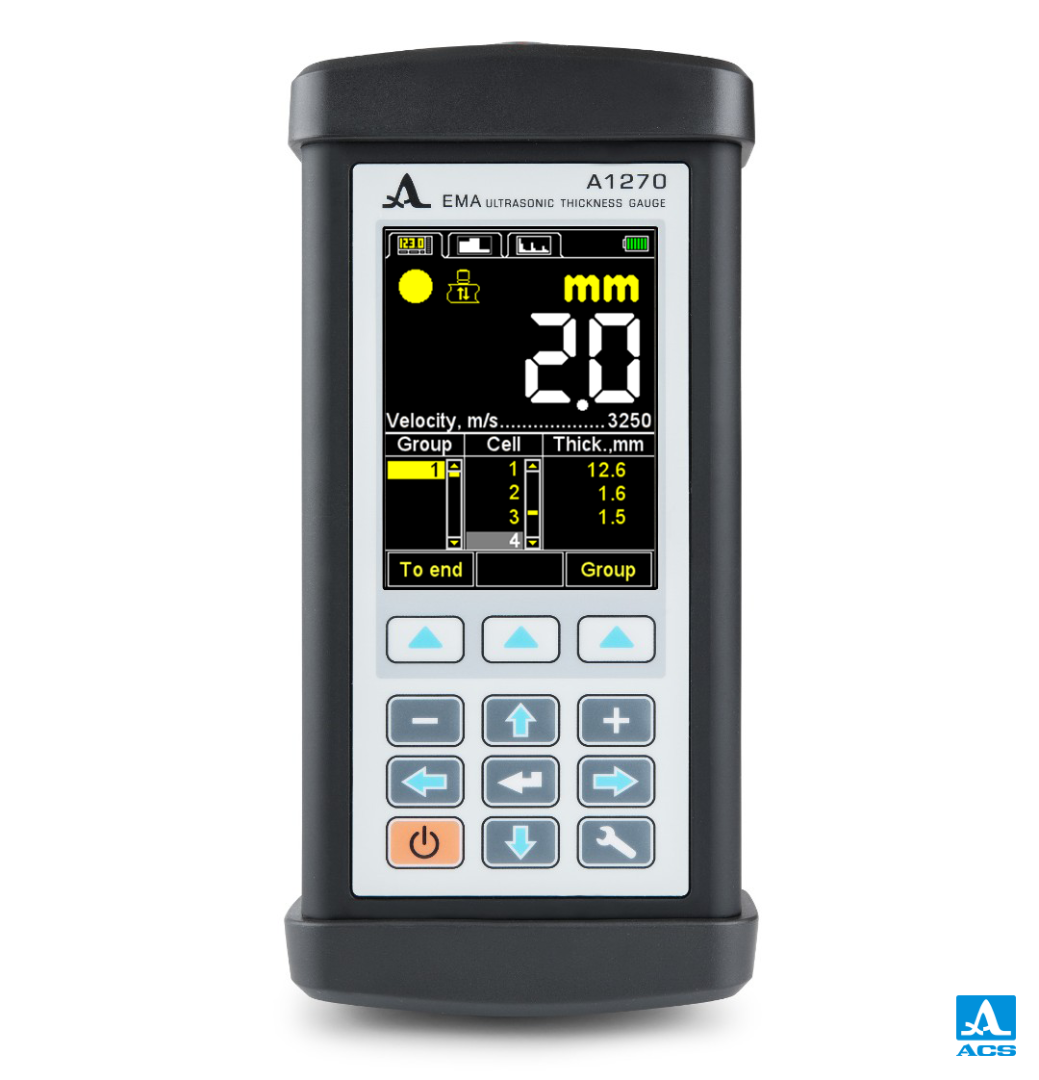
A novel EMA thickness gauge with an innovative electro–magnetic biasing technology is designed to measure thickness of objects made of steel and aluminum alloys without the use of coupling liquid.
Substantial advantage of the new technology represents absence of a permanent magnet in the EMA transducers thus allowing sidestepping of strong adhesion of the transducer to the surfaces of the objects made of ferromagnetic steel; allowing scanning of the object being inspected, and preventing metal chips from sticking to the transducer’s protector, thus extending its service life.
Thickness measurement of the walls of steel pipes and steel objects, parts and nodes made of metals and alloys without the use of coupling liquid and without pretreatment of the surfaces.
Thickness measurement of the sheet products.
Thickness measurement of the ship bottom without pretreatment of the surface.
Evaluation of anisotropy degree of the material.
An innovative technical solution frees the design of the EMA transducer from strong permanent magnets hence they are replaced with pulsed electromagnets. It excludes an effect of strong adhesion of the transducer to the ferromagnetic materials, as well as ensures safe operation of the transducer and simplifies scanning procedure, thus simplifying practical use of the thickness gauge during manual UT inspection.
Thickness measurement of metal objects through corrosive and paint coatings of up to 1.5 mm in thickness. Instrument’s screen displays a thickness value of the metal object without considering the coating if the coating thickness is 1.5 mm and thickness value of the object being inspected is up to 15 mm.
Scanning the object being inspected.
Small aperture of the EMA transducer (8 mm) allows to inspect of the small-diameter pipes (from 15 mm).
Operation in the display mode representing the measurement results in the form of digital values or in the mode with graphic imaging of A-Scan of the signal.
B-Scan mode to display a profile of the object being inspected on the instrument’s screen.
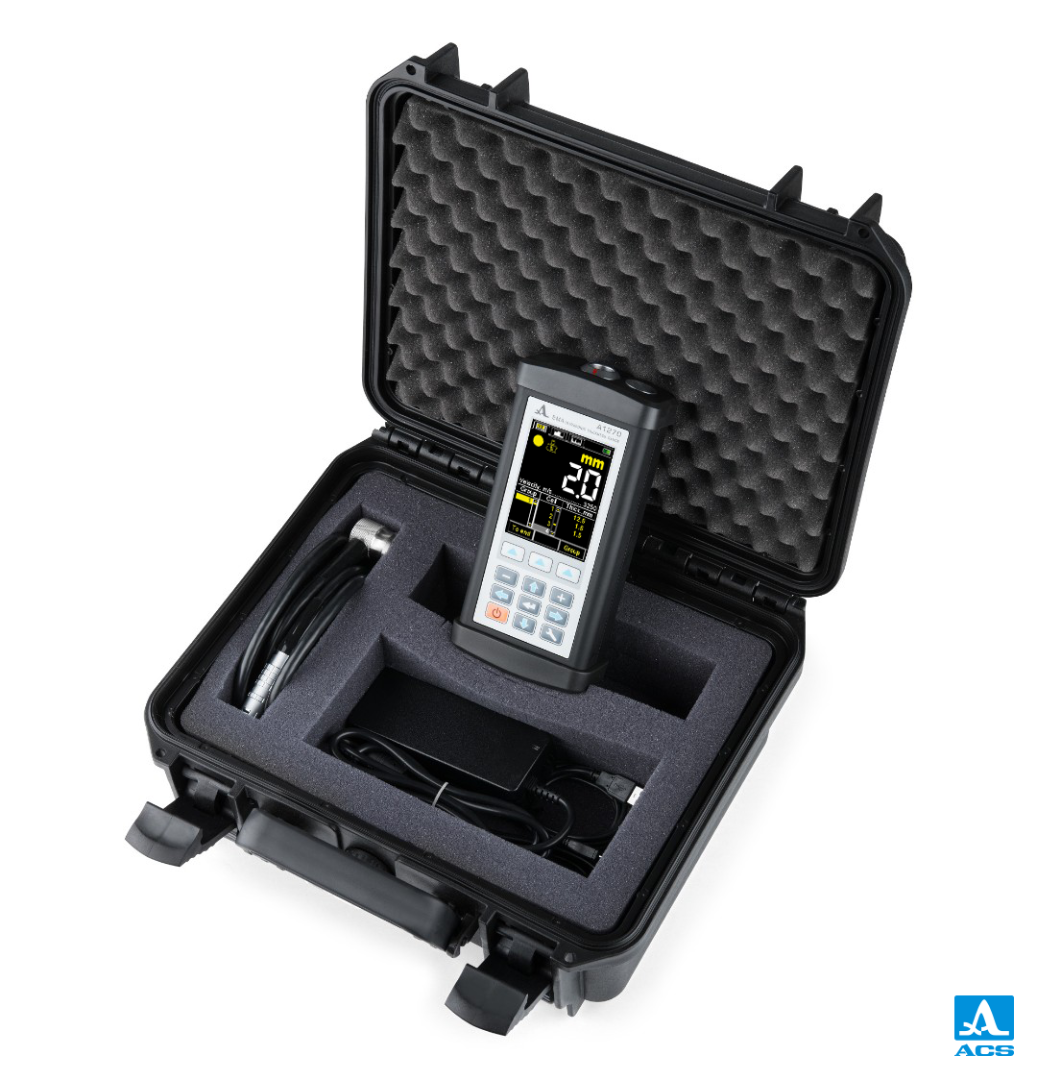
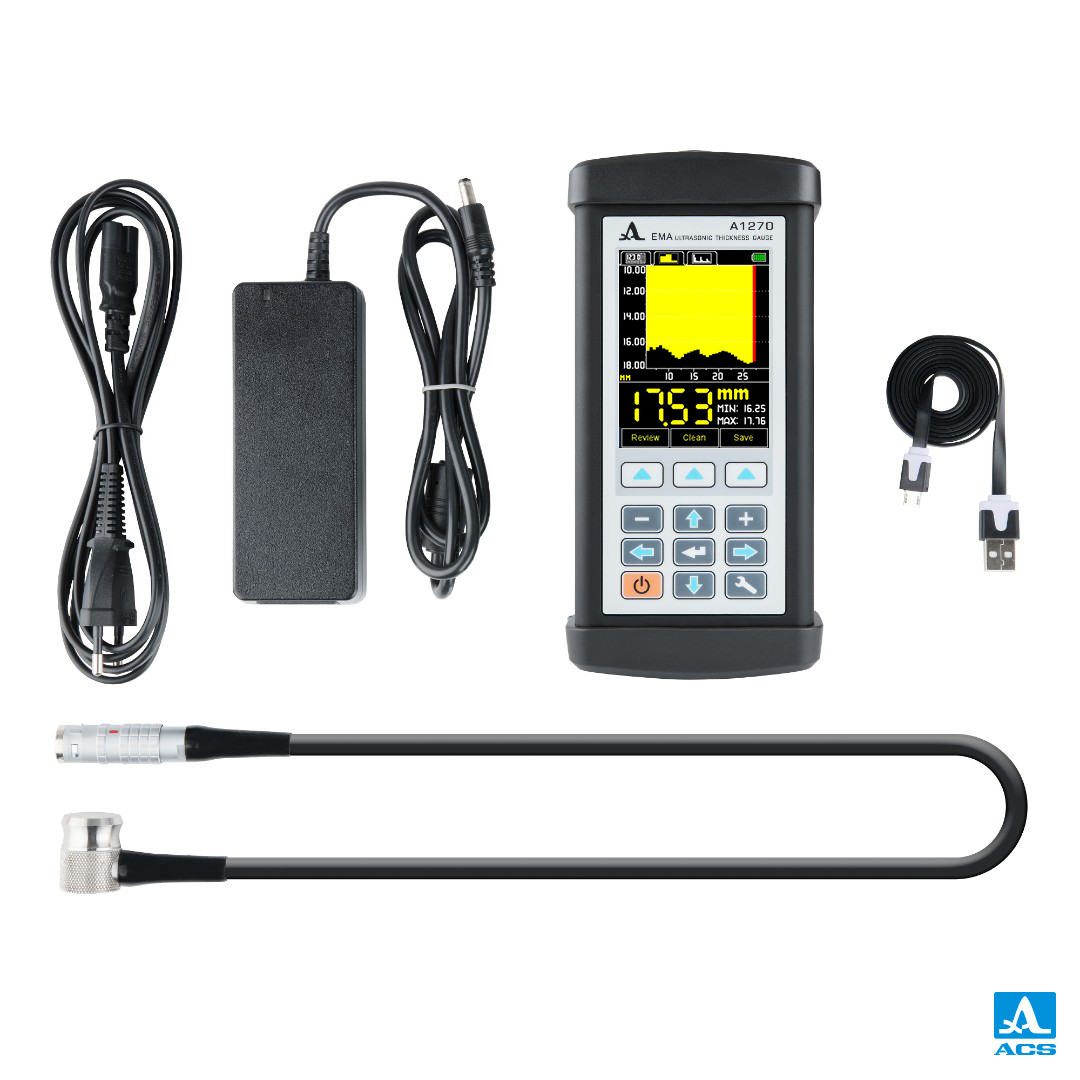
• ?1270 – EMA thickness gauge electronic unit
• EMA transducer with a built-in cable S3850 5.0A0D8ES
• Net adaptor with cable 220V-15V
• USB A – Micro B cable
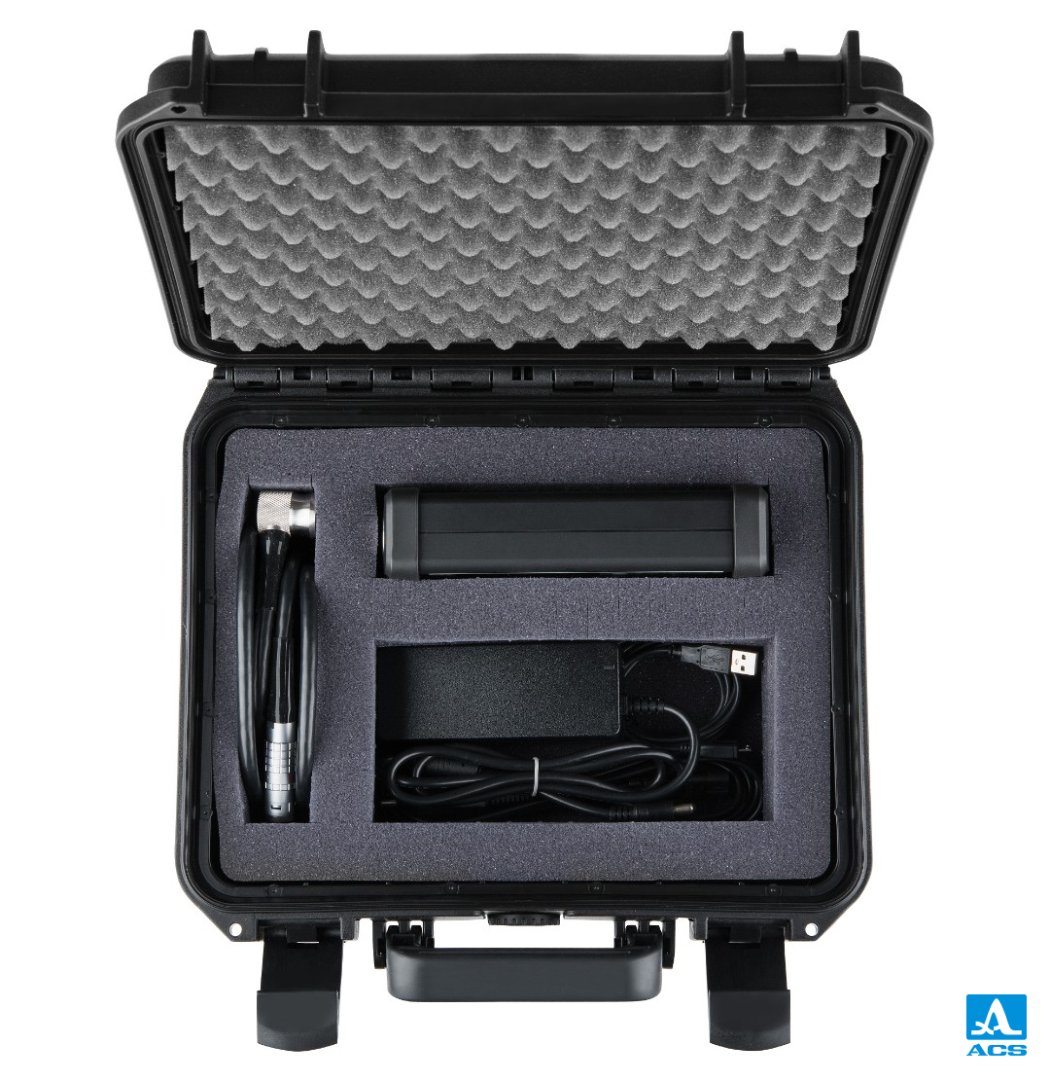
• Case
Additionally
• EMA transducer S7394 2.5A0R10?10ES
• EMA transducer S7392 3.0A0D10ES
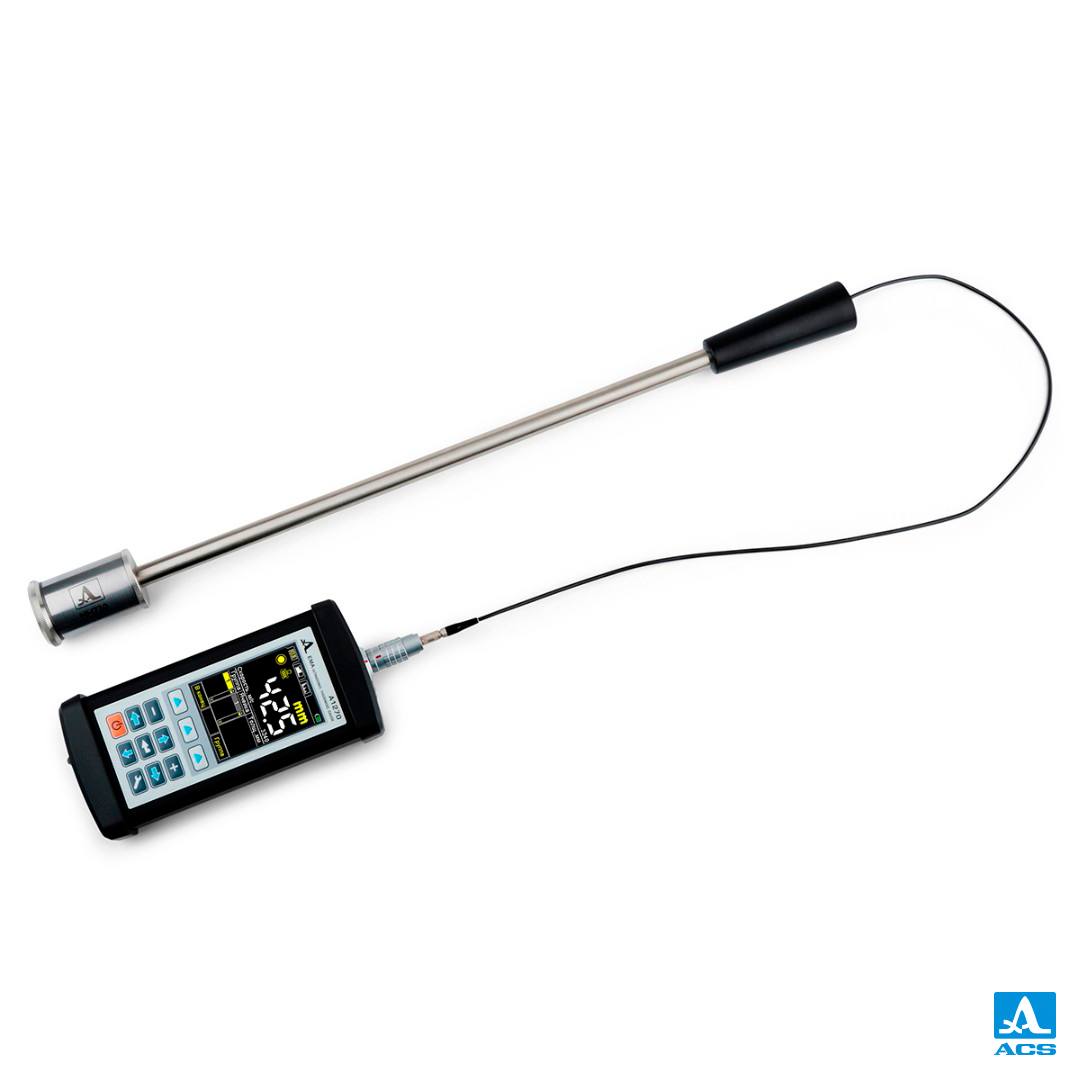
• Connector 2K-LEMO 00 for EMA transducers (S73 series)
• Movable capsule for EMA transducers (S73 series)


