Products

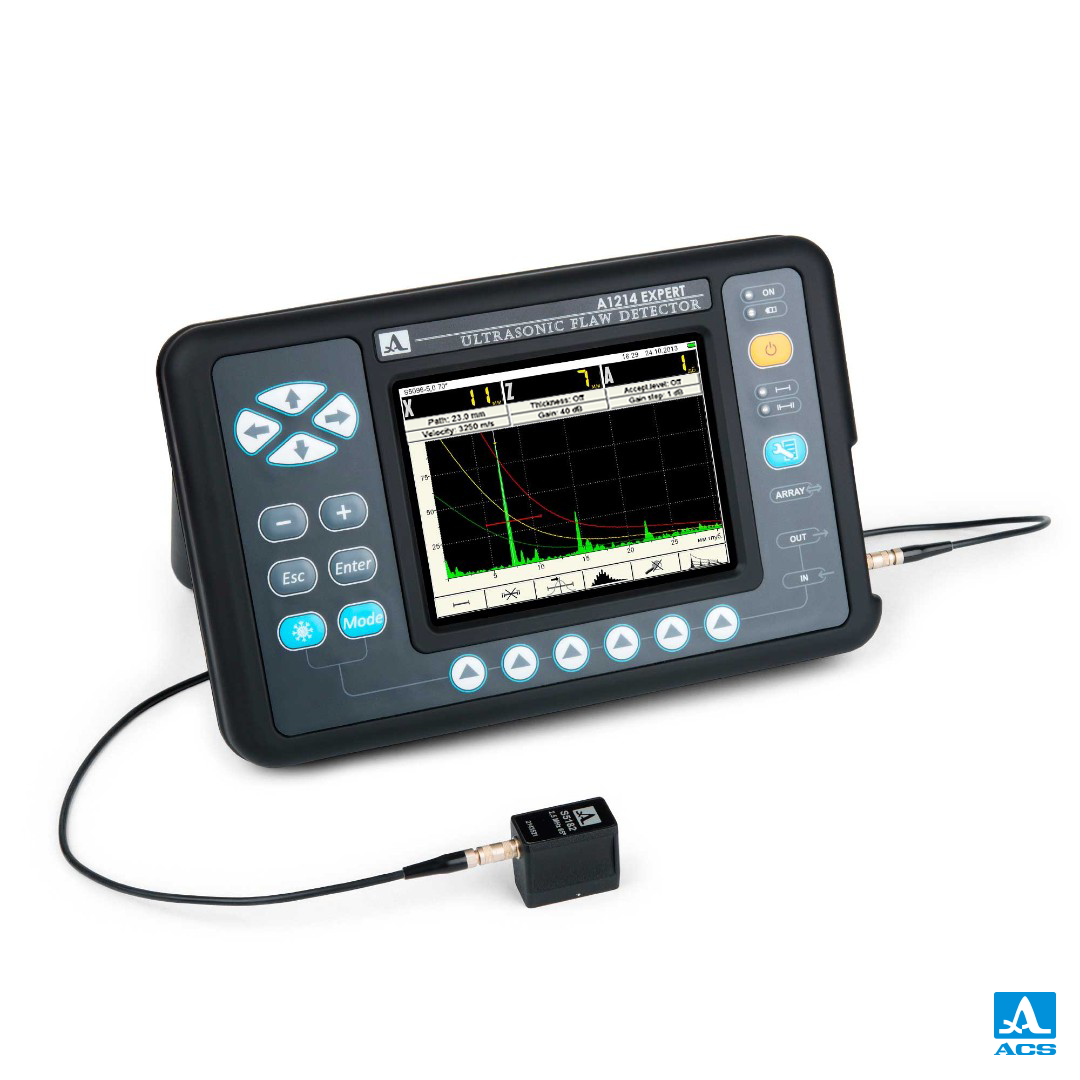
A1214 EXPERT

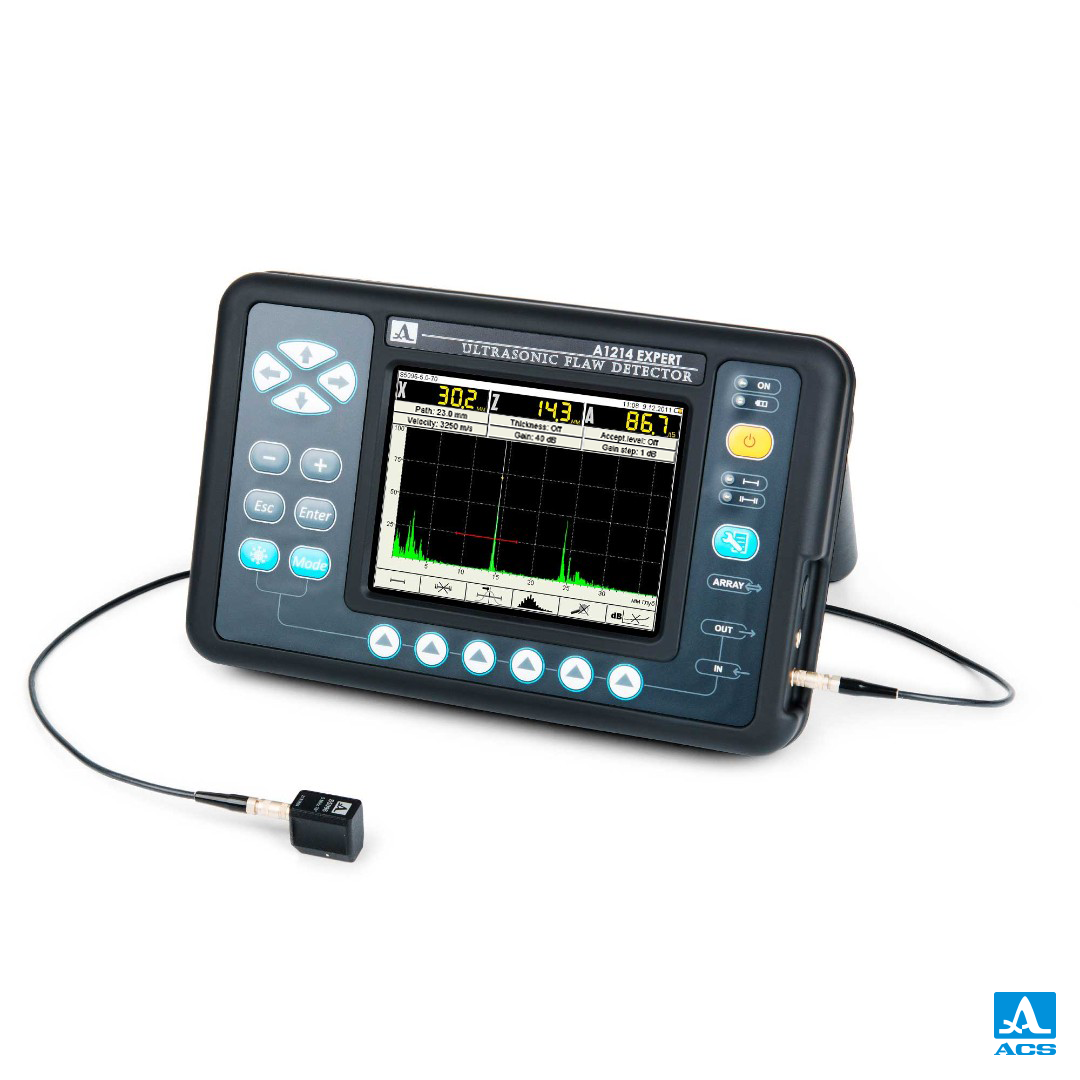
Classic version of an ultrasonic flaw detector offering all up-to-date functions.

Large high-contrast color TFT display with high resolution (640 x 480) enables you to work for a long time without straining your eyes.

User-friendly interface with shortcut keys.

Quick-detachable frost-resistant accumulator.

A1214 EXPERT flaw detector offers a range of unique features thanks to entirely digital paths:
The signal can be represented in undetected form – RF type signals (radio signal) in real time, making it possible to examine signal phases in details, to perform testing with a lot of structural noises and to distinguish signals from nearby reflectors.

Quick access to control functions.
At any operation mode the lower part of the screen features an icon menu to access set up and functions quickly.

Large library of configurations (100 variants).
The device can be customized for various situations and objects in a lab, and on-site the operator can just select the right configuration from the menu. All settings are saved in the nonvolatile memory.

Energy – independent memory for 2000 display images (A-scans with settings of inspection).
At the MENU mode the signal and its description is shown at the upper part of the display allowing to adjust settings of inspection on-the-fly.

Voice comments can be added to saved imaged with the help of freehand Bluetooth set. (2000 options).
Within 20 seconds the user is able to record the necessary information about the test object with a reference to a frame of saved A-Scan.
Semiautomatic procedure of angle correction and delay time in the wedge in case of transducer wearing.

Inquiry Now

Classic version of an ultrasonic flaw detector offering all up-to-date functions.

Large high-contrast color TFT display with high resolution (640 x 480) enables you to work for a long time without straining your eyes.

User-friendly interface with shortcut keys.

Quick-detachable frost-resistant accumulator.

A1214 EXPERT flaw detector offers a range of unique features thanks to entirely digital paths:
The signal can be represented in undetected form – RF type signals (radio signal) in real time, making it possible to examine signal phases in details, to perform testing with a lot of structural noises and to distinguish signals from nearby reflectors.

Quick access to control functions.
At any operation mode the lower part of the screen features an icon menu to access set up and functions quickly.

Large library of configurations (100 variants).
The device can be customized for various situations and objects in a lab, and on-site the operator can just select the right configuration from the menu. All settings are saved in the nonvolatile memory.

Energy – independent memory for 2000 display images (A-scans with settings of inspection).
At the MENU mode the signal and its description is shown at the upper part of the display allowing to adjust settings of inspection on-the-fly.

Voice comments can be added to saved imaged with the help of freehand Bluetooth set. (2000 options).
Within 20 seconds the user is able to record the necessary information about the test object with a reference to a frame of saved A-Scan.
Semiautomatic procedure of angle correction and delay time in the wedge in case of transducer wearing.
Weld joints inspection.

Locating corrosion, cracks, internal stratifications and other flaws.

locating and sizing up flaws (discontinuities and inhomogeneities) in metal and plastic objects.

Thickness measurement.

Digital TCG allows to modify the signal, basing on an arbitrary function set up by 32 node points. Mode points are set up, modified and deleted at a special TCG editing mode. Setup of TCG is performed to get pulses of equal height from equal reflectors providing correct sizing of flaws through the whole thickness of the object of inspection.
DGS-diagrams for single-crystal transducers show three curves on the screen, representing the acceptance, reporting and examination levels. The equivalent area of discontinuity is evaluated automatically.
With feature you avoid manual evaluations of flaw area to increase the testing efficiency significantly.

DAC-curves show three curves on the screen, representing the acceptance, reporting and examination levels. This allows you correctly estimate the validity of the detected defects, according to the current normative and methods of ultrasonic testing.

Maximum thickness of the tested object (echo method, steel)

3000 mm

Rated operating frequencies

0,5 – 15,0 MHz

Material ultrasound velocity setting range

1 000 – 14 999 m/s

Operating frequencies deviation from rated

± 10%

Permissible basic measurement accuracy for thickness D with a normal transducer

±(0,01D+0,2) mm

Measurement accuracy for depth defect H with a normal transducer

±(0,01H+0,2) mm

Flaw coordinate measuring range (on steel) with an angled transducer 650 depth H

3 – 1300 mm

Permissible basic flaw coordinate measuring accuracy with an angled transducer 650 depth H

±(0,03H+1) mm

Flaw coordinate measuring range (on steel) with an angled transducer 700 depth H

3 – 500 mm

Permissible basic flaw coordinate measuring accuracy with an angled transducer 700 depth H

±(0,03H+1) mm

distance on surface L

±(0,03L+1) mm

Gain regulation range

from 0 to 100 dB

Dynamic TGS range, not less than

20 dB

Rated battery voltage

11,1 V

Operating time at normal weather conditions, not less than

8 h

Operating temperature range

from -30 to +55ºC

Display type

color TFT

Display resolution

640 ? 480 pixels

Electronic unit size

258 ? 164 ? 110 mm

Weight with batteries

1,8 kg

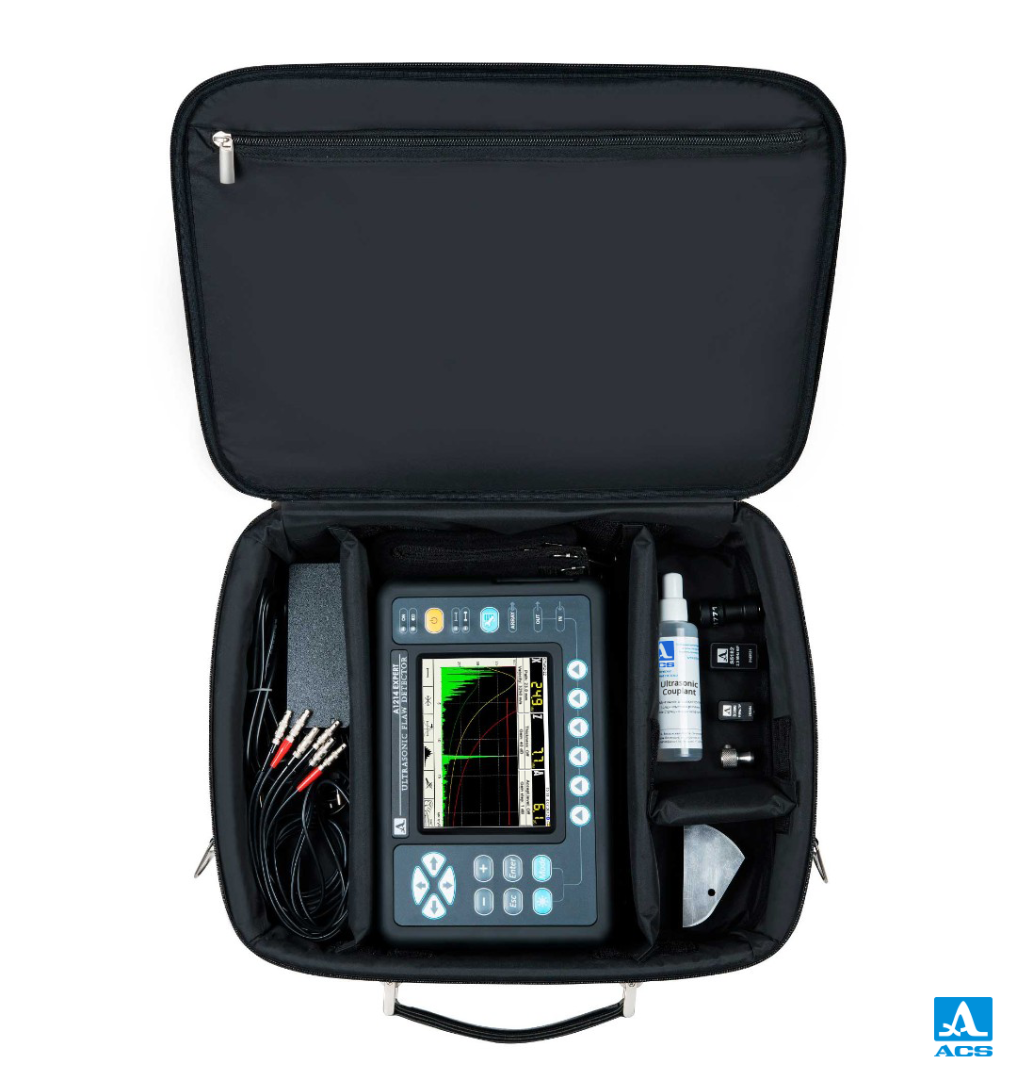
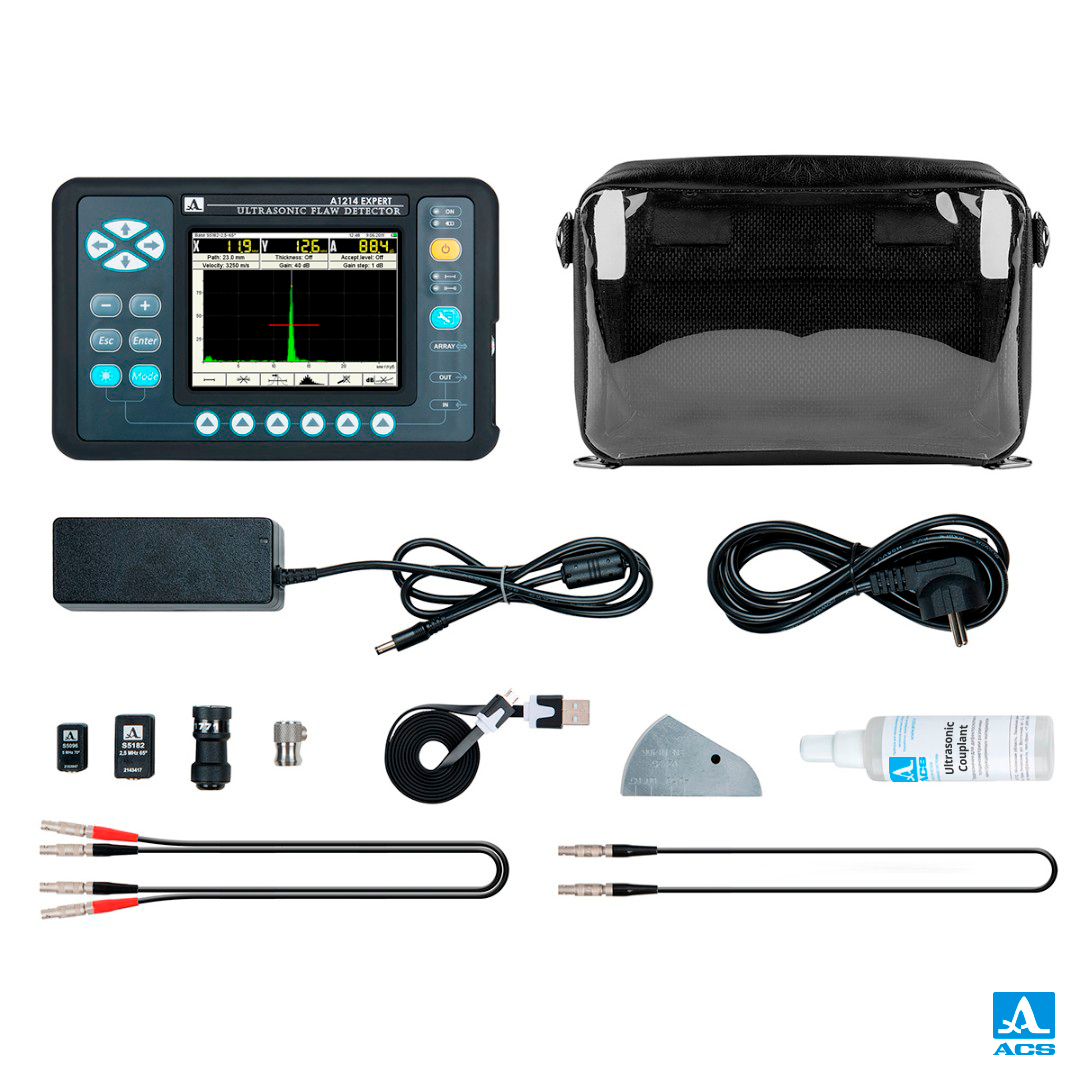
• A1214 EXPERT – ultrasonic flaw detector
• D1771 4.0A0D12CL transducer
• S3568 2.5A0D10CL transducer
• S5182 2.5?45D12CS transducer
• S5096 5.0?45D6CS transducer
• LEMO 00 – LEMO 00 double cable,1,2 m
• LEMO 00 – LEMO 00 single cable,1,2 m
• Network adapter, cable
• USB cable
• Calibrating sample V2/25
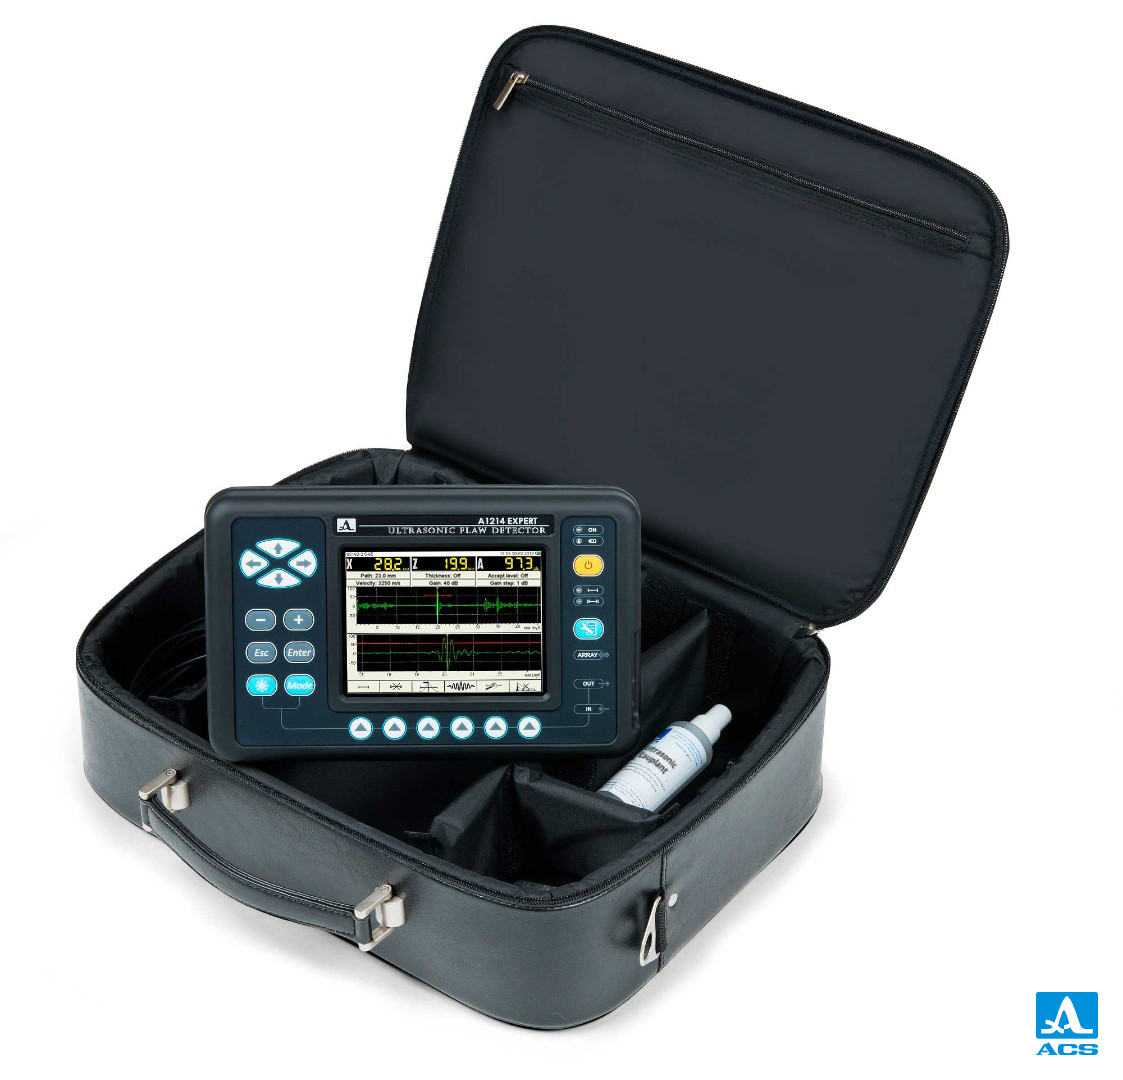
• Soft cover
• Bag